
It’s simple really. Most say hot and slow for layer adhesion right? And with nylon, no fan. Well you want bad layer adhesion so you do the opposite. Turn fan on and speed up. Temp can’t be changed for interface separately but those are enough to weaken it so it snaps off easy.
- 2 Posts
- 25 Comments
Joined 3 months ago
Cake day: September 29th, 2025
You are not logged in. If you use a Fediverse account that is able to follow users, you can follow this user.
I’m on bambu and used others but it doesn’t change no matter what printer it is. I’m sure you’re fine with it otherwise you would change it but I’m just saying you could increase quality immensely without sacrificing ease of support removal.
You’ve probably delved deeper in settings than me considering .265. Most of my settings are default.
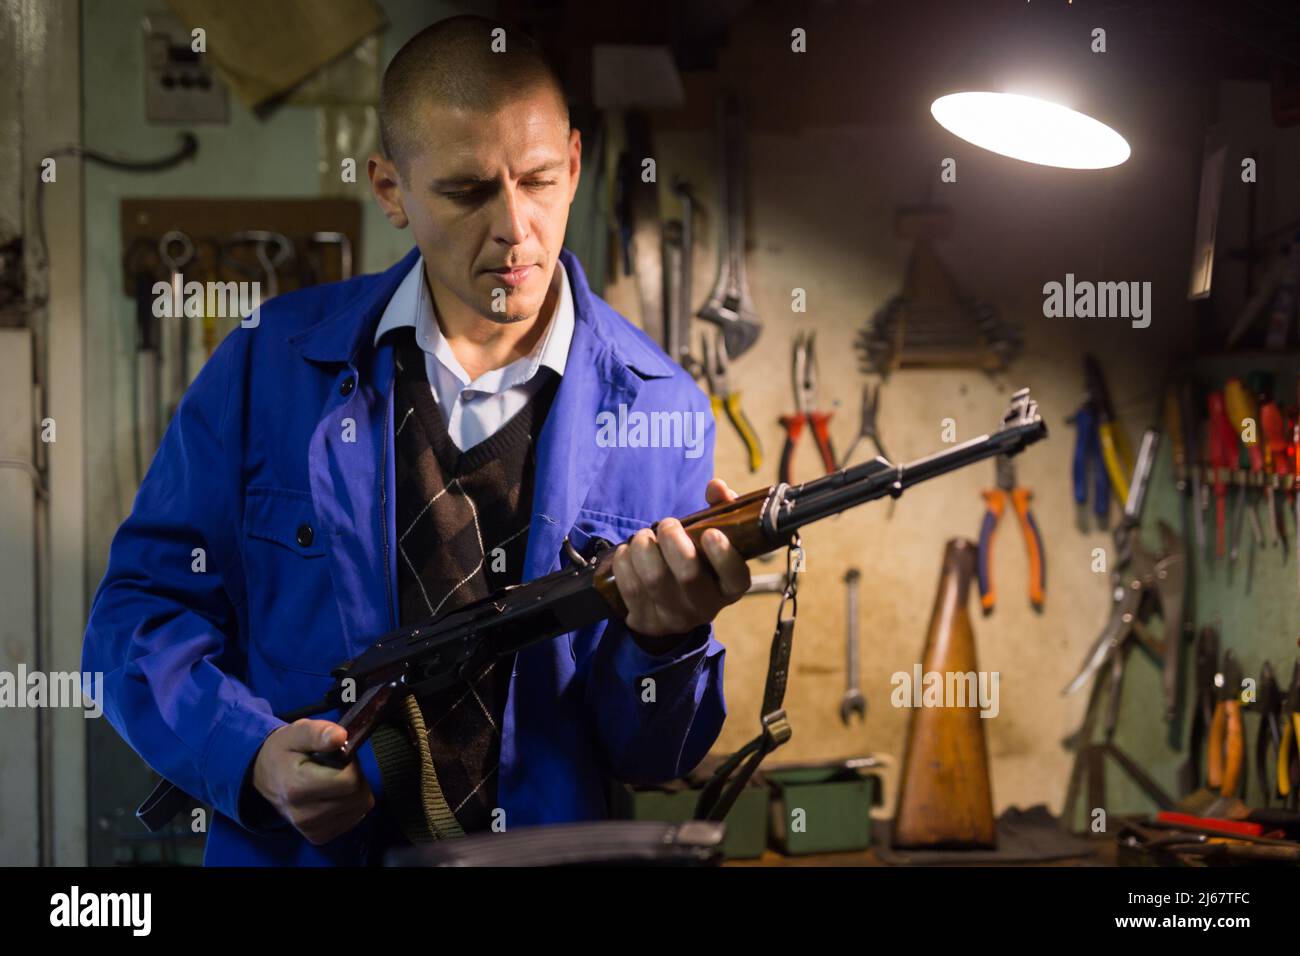
I lot of stuff done here, and even commercial aftermarket parts, are just tacticool. There are advantages to being able to shoulder a handgun and different advantages to a dedicated pcc. Handgun parts kits can also be much cheaper so price plays a role. You don’t see many people printing parts to put on a $2k+ gun. A lot of handgun builds can be done for <$200 and you’ll see people doing anything and everything they can for it. Most cheap pcc are also blowback while most handguns are recoil operated so have less felt recoil and feel less clunky with less reciprocating mass.
The same laws that apply to commercial guns apply to homemade guns with some people having more legal limitations depending on location.
Everything we do here is for fun usually. Most agree that a 3d printed gun isn’t ideal for uses where your life depended on it vs a factory gun (plus jury implications) unless you are in a restricted area. So for most these are just range toys.
I never understood why people use such high z distance. The bottom looks like spaghetti like you printed with no supports. I use .16 and supports come off easily if you change settings to decrease layer adhesion ONLY for support interface. Most of 300’s settings are different from what I use.
There’s limitations of course since only plastic fdm is cheap enough for hobbyists but reliable guns needing high precision is not the case depending on the platform. Depending on the builder, some designs can last thousands and thousands of rounds like a commercially made gun. Especially if the only printed parts would be polymer on the actual gun.
For most platforms, metal is necessary just at a strength limitation. That’s where using commercial parts comes in and parts can be quite cheap in the US. More complicated mechanisms also need to be metal so full diy is limited to blowback usually.
For 22 colibri maybe but not much else. There’s other revolver designs out there and you can see what needs to be metal
S4 only does 70c so not worth buying. If you look for deals, there are larger food dehydrators around 100 that will do 90c and fit 3kg spools. Put in a spool holder and you can print out of them.
You said 110c so you mean the e2 not the s2? S2 only goes to 70c. E2 goes to 110c.
Every food dehydrator I’ve seen let’s you switch to celcius but sometimes just doesn’t say in the manual. If it’s this one that most people post you can switch it by holding the light button. https://www.amazon.com/Septree-Dehydrator-Stainless-Temperature-Protection/dp/B09MCHTXHW
A quick dive into some basic photography knowledge. You’d calibrate to RGB as that’s what monitors are comprised of. Typically you’d have to use an external device but the best way without one is http://www.lagom.nl/lcd-test/. However most people don’t even have professional monitors so couldn’t even calibrate well which makes it’s futile. You’d still get a very large variance in color especially from an average joe just eye balling it.
The photo itself has a white piece of paper for white balancing. If I had photoshop, I could color correct it…correctly. The only solution still goes back to a relative comparison. Just buy one of the filaments, a cheap spool of pla pro, and it’ll get the job done.

It’s in store only. https://cdn.dynamicyield.com/api/8772758/images/62e4471c05e1.webp
Would the people that use this please post the files? Then we can group the files together and have a stencil pack.
The colt is 45 so not relevant other than mentioning price. The llamas are 1911 which were also made in 9mm, 22lr, 380 and some others but I can’t find concrete info on fitment. Some say it doesn’t fit but others have swapped parts so it might just be normal 1911 cross-company issues.
I already have a colt kit that was 300 which is why a ria 9mm kit for the same price doesn’t appeal to me. I forgot to mention the llama kits that are below 100 that I was looking at before that I will likely get
There’s also llama kits for sub 100 but those might need their own design
I was going to make it glock mag compatible which cuts cost on mags I already have and printing mag catch.
I can buy a whole 1911 9mm for 300 which makes them unreasonable to me. Someone said they have seen sales down to 200 but I have yet to see it.
I still haven’t found a reasonably priced kit.
Speed and cooling are basic settings. If that is not easy enough, I don’t think they should be printing. I’m not sure what other settings you also changed but anything above .24 is spaghetti on default settings. PA is even easier to remove as it’s so brittle when dry.
Part of this is also personal preference in difficulty. I’m sure yours is super easy to remove. But I’d just prefer a cleaner surface even if it requires some bits that stick on and need to be removed.